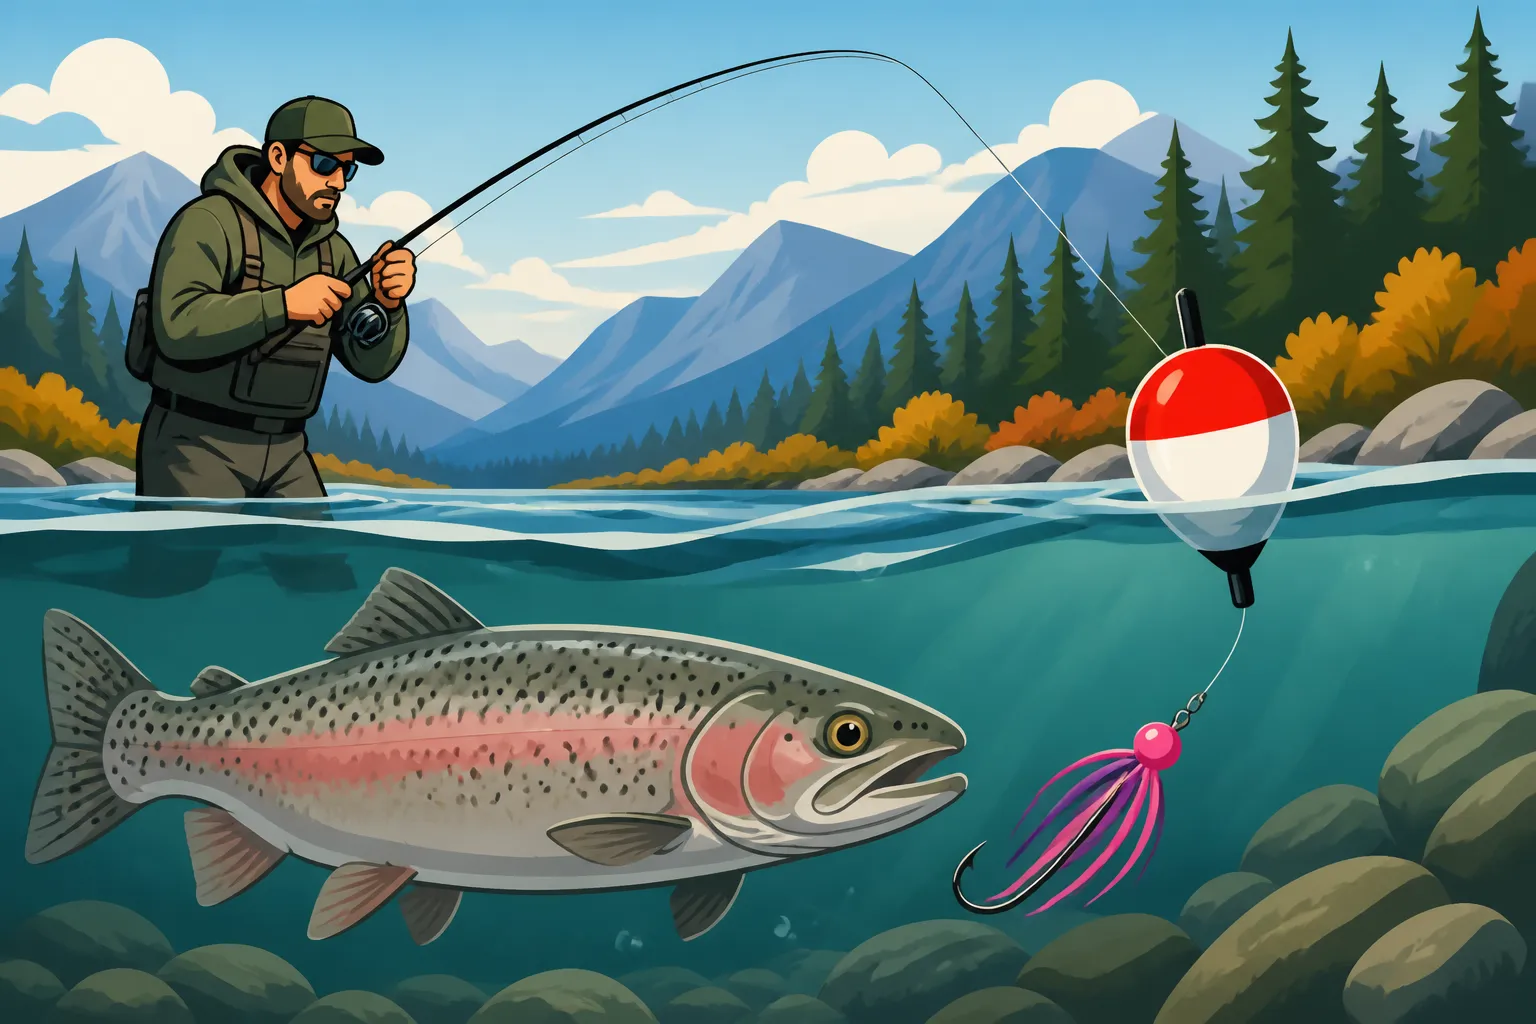
How to Fish a Bobber and Jig for Idaho Steelhead
It can feel overwhelming, can't it? Staring at an Idaho river, knowing trophy steelhead are out there, but having no idea how to present your offering to them. Many anglers, especially those new to steelhead fishing, get bogged down in complicated setups or feel like they need years of experience just to get a bite. But what if I told you there's a technique that's both incredibly effective and remarkably straightforward? This guide is here to demystify one of the most productive and enjoyable ways to catch Idaho steelhead: the bobber and jig.
Why Bobber and Jig for Idaho Steelhead?
The world of steelhead fishing often conjures images of hardcore anglers battling rapids with specialized gear, but the bobber and jig method offers a fantastic alternative that’s both effective and surprisingly accessible. It's a technique that truly shines in Idaho's diverse river systems, from the Clearwater to the Salmon. You don't need to be a seasoned veteran to find success, and that's a huge part of its appeal.
Simplicity and Accessibility
One of the biggest hurdles for new anglers trying to get into steelhead fishing is the perceived complexity of the gear and techniques. Spey rods, drift fishing setups, side-drifting—it can all feel a bit much. The bobber and jig, however, cuts through that complexity. It's an intuitive method that mimics natural food drifts, presenting your offering in a way that steelhead often can't resist. You're essentially using a float to suspend a jig at a precise depth, allowing it to tumble naturally downstream with the current, just like a dislodged insect or piece of roe.
This simplicity means less time fumbling with intricate rigs and more time focusing on reading the water and enjoying the serene beauty of Idaho's rivers. It's an excellent entry point for beginners, providing instant feedback as the bobber dips when a fish bites. But don't mistake simplicity for ineffectiveness; many highly experienced steelhead anglers swear by this method, often out-fishing those employing more complex tactics, especially in certain conditions.
Versatility Across Idaho Waters
Idaho's steelhead rivers are as varied as they are beautiful. You have the broad, powerful flows of the Salmon River, the clearer, more defined runs of the Clearwater, and even sections of the Snake River that hold these magnificent fish. The beauty of the bobber and jig is its remarkable adaptability. Whether you're fishing a relatively shallow riffle or a deep, slow pool, you can adjust your setup to match the conditions. By simply sliding your bobber up or down your line, you can change the depth of your jig, ensuring it's presented right in the fish's strike zone.
Consider a scenario on the Clearwater where fish might be holding in a deep trough, or a shallow side channel of the Salmon River where they're tucked behind rocks. With a bobber and jig, you can easily adjust your leader length to put that jig exactly where it needs to be. This versatility also extends to varying water speeds; the right bobber choice and weight can ensure a natural, unhindered drift even in complex currents. It’s a truly universal method that every Idaho steelhead angler should have in their arsenal, regardless of which iconic river they're targeting. For a broader understanding of where these fish might be, check out our Idaho Fishing Regulations Explained article.
High Success Rate
Ultimately, we all want to catch fish, and the bobber and jig technique boasts an impressive success rate for steelhead. Why is it so effective? It comes down to presentation and detection. Steelhead often hold in specific current seams and pockets, conserving energy as they migrate upstream. A perfectly drifted jig, suspended just above the riverbed, looks like an easy meal that's floating right into their path. The bobber acts as a highly sensitive strike indicator, dipping or pausing even at the most subtle take.
Unlike bottom-bouncing rigs where bites can be hard to differentiate from snags, a bobber's movement is unmistakable. This means fewer missed bites and more hookups. Furthermore, the combination of a colorful jig and the bobber's natural drift is often irresistible to steelhead, triggering an aggressive strike. Many guides and seasoned anglers will tell you that on a given day, if the fish are there, a well-fished bobber and jig setup will put more steelhead in the net than almost any other method.
Essential Gear for Bobber and Jig Steelhead Fishing
Getting set up for bobber and jig steelhead fishing doesn't require breaking the bank, but having the right tools makes all the difference. Think of it as investing in your confidence on the water. While some gear might seem similar to other types of fishing, there are specific considerations for targeting steelhead with this technique.
Rod, Reel, and Line Selection
Choosing the right rod, reel, and line is foundational for successful bobber and jig fishing. You need equipment that offers a balance of sensitivity, power, and casting ability.
For rods, think length. A good steelhead rod for this technique will typically be between 9 to 11 feet long. This extra length helps immensely with casting lighter jigs, mending your line effectively to control your drift, and keeping your line off the water to avoid drag. A medium-light to medium power rod with a fast action tip is ideal. The sensitive tip allows you to detect subtle bites transmitted through the bobber and absorb the shock of a steelhead's initial surge, while the backbone provides the power to fight and land these strong fish. For comprehensive advice, see our guide on Best Rod Setup for Idaho Steelhead Fishing.
When it comes to reels, a spinning reel in the 2500 to 4000 size range is perfect. You want a smooth drag system that can handle long runs from a powerful steelhead. Look for a reel that balances well with your chosen rod.
Line choice is critical. Most anglers start with a braided main line, typically 15 to 30 lb test. Braid has minimal stretch, offering incredible sensitivity, and its thin diameter allows for longer casts. However, because braid is visible and has no abrasion resistance, you'll need a fluorocarbon leader. A leader of 8 to 15 lb test fluorocarbon, about 3-6 feet long, is usually sufficient. Fluorocarbon is nearly invisible underwater and holds up well against rocky river bottoms and fish teeth. Connecting your braid to fluorocarbon with a reliable knot like a double uni knot or an Albright knot is essential for strength. You can find excellent quality braided line, fluorocarbon leaders, and a wide selection of rods and reels on platforms like Amazon, making it easy to get exactly what you need delivered right to your door.
Bobber and Jig Anatomy
These two components are the heart of this technique, and understanding their variations is key to adapting to different fishing scenarios.
Let's talk bobbers first. For steelhead, you're usually looking at slip bobbers rather than fixed ones. Slip bobbers allow your line to slide through them, which means you can fish much deeper water than your rod length and cast further without a long, unwieldy leader dangling. They typically come in bright, high-visibility colors like fluorescent orange, yellow, or chartreuse. Pay attention to the size and weight rating on the bobber—you need it to be large enough to suspend your jig and any added weight, but not so large that it feels like a billboard floating down the river. Brands like Thill or Raven make excellent slip bobbers designed for river conditions.
Jigs are where the fun really begins. Steelhead jigs are small, weighted lures with a hook, often dressed with marabou, rabbit fur, or synthetic fibers. The weight of the jig is crucial for getting it down to the fish quickly and maintaining a good drift. Common sizes range from 1/8 oz to 1/4 oz, but sometimes heavier or lighter may be appropriate. The color is another huge factor. Popular choices include pink, chartreuse, white, black, purple, or combinations like pink-and-white. The fibers pulse and breathe in the current, creating an irresistible action. The jig's hook size should be appropriate for steelhead, typically a size 1 or 2. Having a variety of weights and colors in your tackle box is a smart move, allowing you to experiment and find what the fish are keying in on that day. You can easily build up a diverse collection of steelhead jigs from Amazon, experimenting with different colors and weights to see what works best on your local waters.
Terminal Tackle & Accessories
Beyond the main rod, reel, line, bobber, and jig, a few other pieces of terminal tackle and accessories are absolutely crucial for a smooth and efficient day on the water.
Firstly, bobber stops. These small pieces of string or plastic attach to your main line and prevent your slip bobber from sliding up too far, allowing you to set your precise fishing depth. They are inexpensive and indispensable. Next, consider swivels. A small barrel swivel or, even better, a tiny snap swivel, can be used to connect your main line to your leader. This helps prevent line twist, especially if your jig has any inherent spin.
You'll also need some weight, specifically split shot or pencil lead, which you'll pinch onto your leader a foot or two above your jig. This additional weight helps get your presentation down quickly and keeps your bobber upright and stable in the current. Have a variety of sizes, from small BB sizes to larger pinch-ons, to adapt to varying current speeds and depths. For a deep dive into what else to use, check out Best Bait and Lures for Idaho Fishing.
Finally, don't forget essential accessories. A good pair of line cutters or sharp nail clippers is a must for clean knot tying. Needle-nose pliers or hemostats are invaluable for unhooking fish safely and retrieving snagged jigs. A net, preferably a rubber-coated landing net to protect the fish's slime coat, is absolutely essential for safely landing steelhead, especially if you plan to release them. A quality fishing vest or tackle bag from Amazon can help keep all these small but vital items organized and within easy reach.
Setting Up Your Bobber and Jig Rig
The beauty of the bobber and jig rig is its elegant simplicity, but getting the setup just right is crucial for optimal performance. A well-tied, correctly balanced rig will cast smoothly, drift naturally, and give you the best chance of detecting those subtle steelhead takes. Don't rush this part; precision here pays dividends on the water.
Step-by-Step Rigging Guide
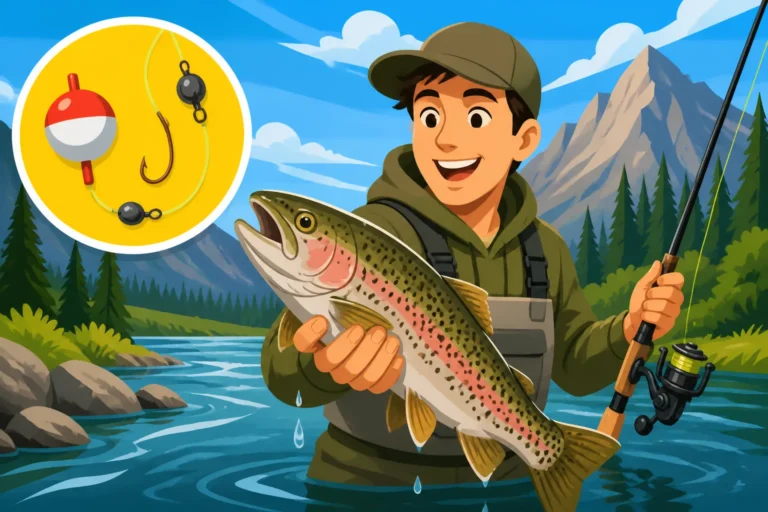
Let's walk through building your bobber and jig rig, from your main line down to the business end:
- Main Line Preparation: Start with your braided main line. If you've just spooled your reel, ensure there's enough line to cast and fight fish.
- Add the Bobber Stop: Take a bobber stop (often a piece of string with a small bead) and thread your main line through the loop. Slide the stop onto your main line and cinch it down. This little hero is what will ultimately control your fishing depth.
- Thread the Bead (Optional, but Recommended): Next, slide a small plastic or glass bead onto your main line, just below the bobber stop. This bead protects the knot on your bobber from the repeated impact of the bobber stop, extending the life of your rig.
- Attach the Slip Bobber: Thread your main line through the eye of your slip bobber. The line should pass freely through the bobber.
- Connect the Swivel: Tie a small, strong barrel swivel or snap swivel to the end of your main line. Use a reliable knot like a Palomar or an Improved Clinch knot. This swivel will prevent line twist and serve as the connection point for your leader.
- Tie the Fluorocarbon Leader: To the other end of the swivel, tie your fluorocarbon leader. A good length is typically 3-6 feet, though you might adjust this based on water clarity and depth. Again, a Palomar or Improved Clinch knot works well.
- Add Split Shot/Pencil Lead: About 12-24 inches above where you plan to tie your jig, pinch one or two small split shot or a small piece of pencil lead onto your fluorocarbon leader. The goal here is to add just enough weight to make your bobber stand upright and sensitive, but not so much that it creates an unnatural drag on your drift. You want your bobber to be mostly submerged, with just the bright top visible.
- Attach the Jig: Finally, tie your chosen steelhead jig to the end of your fluorocarbon leader. A strong loop knot, like the Non-Slip Mono Loop, allows the jig to swing freely, maximizing its action in the current.
Double-check every knot for security and trim any tag ends neatly. A properly rigged setup should feel balanced and flow smoothly when you give it a little test swing.
Adjusting Depth and Presentation
This is where the bobber and jig truly shines in its finesse. Steelhead are often particular about the depth at which they'll strike. Too high, and your jig drifts over their heads; too low, and you're constantly snagging the bottom.
Your bobber stop is your depth control. To adjust, simply slide the bobber stop up your main line for deeper water, or down for shallower water. As a general rule, you want your jig to drift about 6-18 inches above the riverbed. This allows the fish to look up and see your offering without it dragging or getting hung up. When you first start fishing a new run, begin with a slightly shallower depth and gradually increase it until you start bumping the bottom occasionally. That's your cue to shorten it up a little, finding that sweet spot just above the rocks.
Presentation also involves making sure your bobber is weighted correctly. If your bobber is floating high out of the water, it's not sensitive enough to detect subtle bites. Add more split shot until only the brightly colored tip is showing. If it's sinking, you've added too much weight or need a larger bobber. The goal is a perfectly balanced bobber that offers minimal resistance to a biting fish, yet stands proudly in the current. This meticulous attention to depth and weighting is what separates a good bobber and jig angler from a great one.
Tying the Right Knots
In steelhead fishing, your knots are your last line of defense against losing a trophy fish. A strong, reliable knot can mean the difference between landing a magnificent steelhead and telling a heartbreaking story about "the one that got away." For bobber and jig fishing, you'll primarily need to master a few key knots.
The Palomar Knot is an excellent choice for tying your swivel to your main line and your jig to your leader. It's incredibly strong, relatively easy to tie, and maintains much of the line's breaking strength. For connecting your braided main line to your fluorocarbon leader, if you're not using a swivel, the Double Uni Knot or the Albright Knot are workhorses. They are strong, relatively streamlined, and designed to connect lines of different diameters. Take the time to learn these knots, practice them at home, and always moisten your knots before cinching them tight to prevent friction from weakening the line. A knot that looks good but isn't tied correctly can fail under the immense pressure of an angry steelhead. This attention to detail is vital for success, much like understanding the various Idaho Fishing Techniques Guide available.
Mastering the Drift: Technique and Presentation
Once your gear is rigged and ready, the real art of bobber and jig fishing for steelhead comes down to mastering the drift. It’s a dance with the current, a conversation with the river, all aimed at presenting your jig in the most natural, enticing way possible. This isn't just about casting; it's about observation, adjustment, and a keen sense of touch.
Reading the Water for Steelhead Holds
Before you even make your first cast, take a moment to read the river. Steelhead are not randomly distributed; they hold in specific areas where they can rest, avoid strong currents, and ambush food. Look for current seams – the line where fast water meets slower water. These are prime resting areas. Undercut banks, log jams, large boulders, and even subtle depressions in the riverbed can create current breaks or "soft water" pockets where steelhead will tuck in.
Think about water depth and speed. Steelhead typically prefer depths of 3 to 8 feet in moderate currents, but this can vary greatly depending on water temperature, clarity, and time of year. On the Clearwater River, for example, long, sweeping runs with gravel bottoms often hold fish. On the Salmon River, you might find them in deeper pockets behind large rocks. Visualize the current carrying your jig downstream. Where would you rest if you were a fish? Where would an easy meal drift by? This mental mapping is critical. Your ability to read the water effectively will dramatically increase your chances of putting your jig in front of a fish.
The Perfect Drift
Achieving the "perfect drift" is the holy grail of bobber and jig fishing. It means your jig is traveling downstream at precisely the same speed as the current, without any unnatural drag. This makes your presentation look completely natural, like a free-floating meal.
Start by casting upstream and slightly across the current from where you believe fish are holding. As your bobber begins its journey downstream, you'll need to "mend" your line. Mending involves lifting your rod tip and flipping a loop of line upstream to reposition it, ensuring there's no belly in the line pulling your bobber faster or slower than the current. This allows your bobber to drift unimpeded. The goal is for your line to be relatively straight from your rod tip to your bobber, with just enough slack to prevent drag but not so much that you can't detect a bite.
Keep your rod tip high, following your bobber as it drifts. This technique is often called "high-sticking." It helps keep as much line off the water as possible, minimizing drag from surface currents. Practice this until it feels natural. A truly natural drift is indistinguishable from a free-floating piece of debris in the water, and that's exactly what you want the steelhead to perceive.
Recognizing the Bite and Setting the Hook
This is arguably the most exciting part! Unlike aggressive trout bites, steelhead takes on a bobber can often be incredibly subtle. Sometimes, the bobber won't plunge violently; instead, it might just twitch, hesitate, or slowly submerge. Other times, it might simply stop dead in the water, even in a strong current, indicating that a fish has picked up your jig. These subtle changes are your cue to react.
The most common mistake beginners make is waiting too long. If you see any unusual movement from your bobber, set the hook! Don't overthink it. A quick, firm sweep of the rod tip upstream and to the side is usually all it takes. You're not trying to yank the fish out of the water; you're simply taking up slack and driving the hook home.
Be prepared, because once you set that hook, an Idaho steelhead will often explode into action. These fish are powerful, known for blistering runs, acrobatic jumps, and deep dives. It's a thrill that never gets old. For additional guidance, remember that understanding Idaho Fishing Rules for the Salmon River Explained or Idaho Fishing Rules for the Clearwater River Explained can help you determine the best approach for specific locations.
Fighting and Landing Steelhead
Once you've hooked a steelhead, the real battle begins. These fish are renowned for their strength and stamina, and a proper fighting technique is essential to land them safely and efficiently, especially if you plan to release them.
Keep your rod tip up, maintaining a continuous bend in the rod. This bend acts as a shock absorber, cushioning the fish's powerful runs and jumps. Avoid "horsing" the fish – trying to crank it in too quickly. Instead, use the rod's flex to tire the fish out. Let the drag on your reel do its job, smoothly giving line when the fish runs, and then retrieve line when it pauses. Pump and reel: lift the rod, reel down quickly, and repeat.
When the fish is close, guide it into your net headfirst. Avoid beaching the fish on the bank, as this can damage its protective slime coat and fins. If you're planning to release the fish, minimize its time out of the water. Handle it gently with wet hands, remove the hook quickly (barbless hooks make this much easier), and support it in the current until it swims away strongly. For wild steelhead, release is mandatory in Idaho. Remember to identify your catch; our How to Tell a Hatchery Steelhead from a Wild One in Idaho guide can help, and always adhere to Why Wild Steelhead Must Be Released in Idaho. Proper handling ensures the future of this incredible fishery.
Tips for Maximizing Your Success
Even with the right gear and a solid understanding of the technique, there are always little tweaks and tricks that can significantly boost your success rate when bobber and jig fishing for Idaho steelhead. Sometimes, it's the smallest detail that makes the biggest difference.
Jig Color and Size Selection
Picking the right jig color and size is often a game of trial and error, but there are some general guidelines to help you start. Think about water clarity and light conditions.
- Clear Water: In clear water, natural colors like black, brown, olive, or subtle patterns with a hint of red or purple can be very effective. Smaller, more understated jigs (1/8 oz) might also be preferred by skittish fish.
- Murky or Stained Water: When the water is off-color due to rain or runoff, bright, fluorescent colors truly shine. Pink, chartreuse, orange, and white offer high visibility. Larger jigs (1/4 oz) can also present a bigger profile for fish to see in reduced visibility.
- Overcast vs. Sunny: On dark, overcast days, bright colors might still be your best bet. On bright, sunny days, sometimes a more subdued or even darker jig can be more effective, creating a stronger silhouette against the bright sky.
Always carry a variety of colors and sizes. If one isn't working, don't be afraid to switch it up every 15-20 minutes. Sometimes, it's a specific shade of pink or a particular combination of colors that makes all the difference on a given day. Checking online fishing reports or talking to local tackle shops can often provide clues about current hot colors. For even more options, you can browse a vast array of jig colors and sizes on Amazon to ensure your tackle box is always well-stocked.
Adding Scent or Bait
While jigs are effective on their own, sometimes an added scent or bait can provide that extra edge, especially on tough fishing days or in colder water where fish might be less aggressive.
Scent: Applying a commercial fish attractant scent to your jig is a popular strategy. These scents mimic natural fish oils, roe, or other food sources. Brands like Pro-Cure or Mike's Gel Scent are widely used. Simply squeeze a dab onto the fibers of your jig and reapply every 15-20 casts or after catching a fish. The scent trail can draw steelhead in from a greater distance and encourage them to hold onto the jig longer once they mouth it, giving you more time to set the hook.
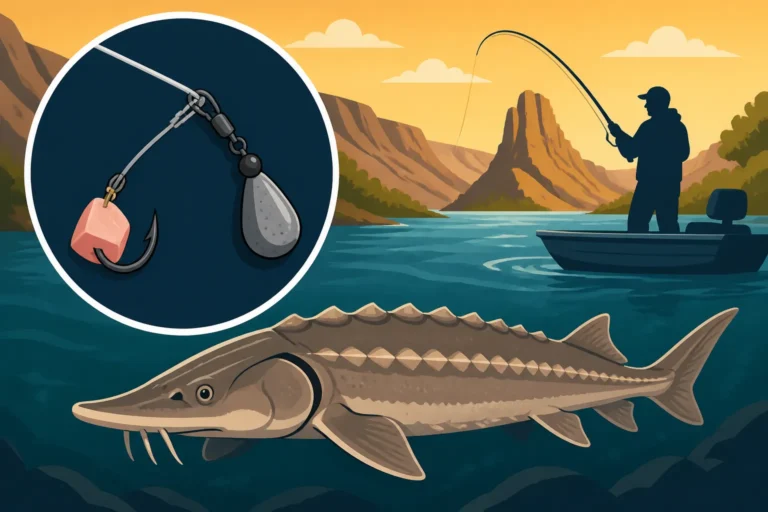
Bait: Some anglers choose to tip their jigs with a small piece of natural bait. Cured roe (salmon or steelhead eggs) is a classic choice. A single egg or a small cluster can be impaled directly on the jig hook. Other options include a small piece of shrimp, a worm, or even a plastic imitation bait. The natural texture and smell can be incredibly enticing. However, be aware of local regulations, as some waters have restrictions on bait use, especially for species like Idaho Sturgeon Fishing Rules. Always check the current Idaho fishing regulations before heading out.
Seasonal and Water Condition Adjustments
Idaho's steelhead season can span from fall through spring, and conditions change dramatically. Your bobber and jig technique needs to adapt.
Fall Steelhead: Early fall often brings warmer water and more aggressive fish. You might find success with a faster, more active drift and brighter colors. As water temperatures drop, fish can become more lethargic. Slow your drift down, use smaller jig movements, and perhaps add scent.
Winter Steelhead: This is when fish are often holding deep and tight to the bottom in slower runs. Your depth setting becomes absolutely crucial. Use enough weight to get your jig down, but maintain that natural, slow drift. Subtle takes are common, so watch your bobber intently. Darker jigs, or sometimes those with a hint of red, can be effective in cold, clear winter water. Our When Idaho's Steelhead Season Runs Through the Winter guide has more details on this.
Spring Runoff: Spring brings warmer temperatures but also potential runoff, which can make rivers muddy and high. During runoff, steelhead often move to the softer water on the edges of the main current. Use brighter, larger jigs to maximize visibility. Heavier jigs might be needed to get through faster currents. Patience is key during these challenging conditions. For more on this, consult How to Fish Idaho Rivers During Spring Runoff.
Always pay attention to what the river is telling you. Is the water level rising or falling? Is it clear or cloudy? How fast is the current? These factors will dictate your jig choice, weight, depth, and overall presentation. Flexibility and a willingness to adapt are the hallmarks of a successful steelhead angler.
Disclaimer
This article is for general informational purposes only and does not constitute professional advice. Laws, prices and regulations vary by location and change over time. Consult a qualified professional for guidance on your specific situation.